
Programming a LiftMaster garage door opener doesn’t have to be complicated. Whether you’re adding a new remote, setting up a keypad, or linking your opener to a smartphone, following the correct steps ensures smooth, secure, and reliable operation.
This guide walks you through everything from locating the Learn button to troubleshooting common issues, providing clear instructions so your garage door works safely and conveniently every time.
Why Programming Your LiftMaster Garage Door Opener is Important
Properly programming your LiftMaster garage door opener is essential for security and convenience. It ensures that only authorized remotes or keypads can operate the door. Without correct programming, your door may fail to respond, old remotes could pose a security risk, and you may encounter frustration or system malfunctions during daily use.
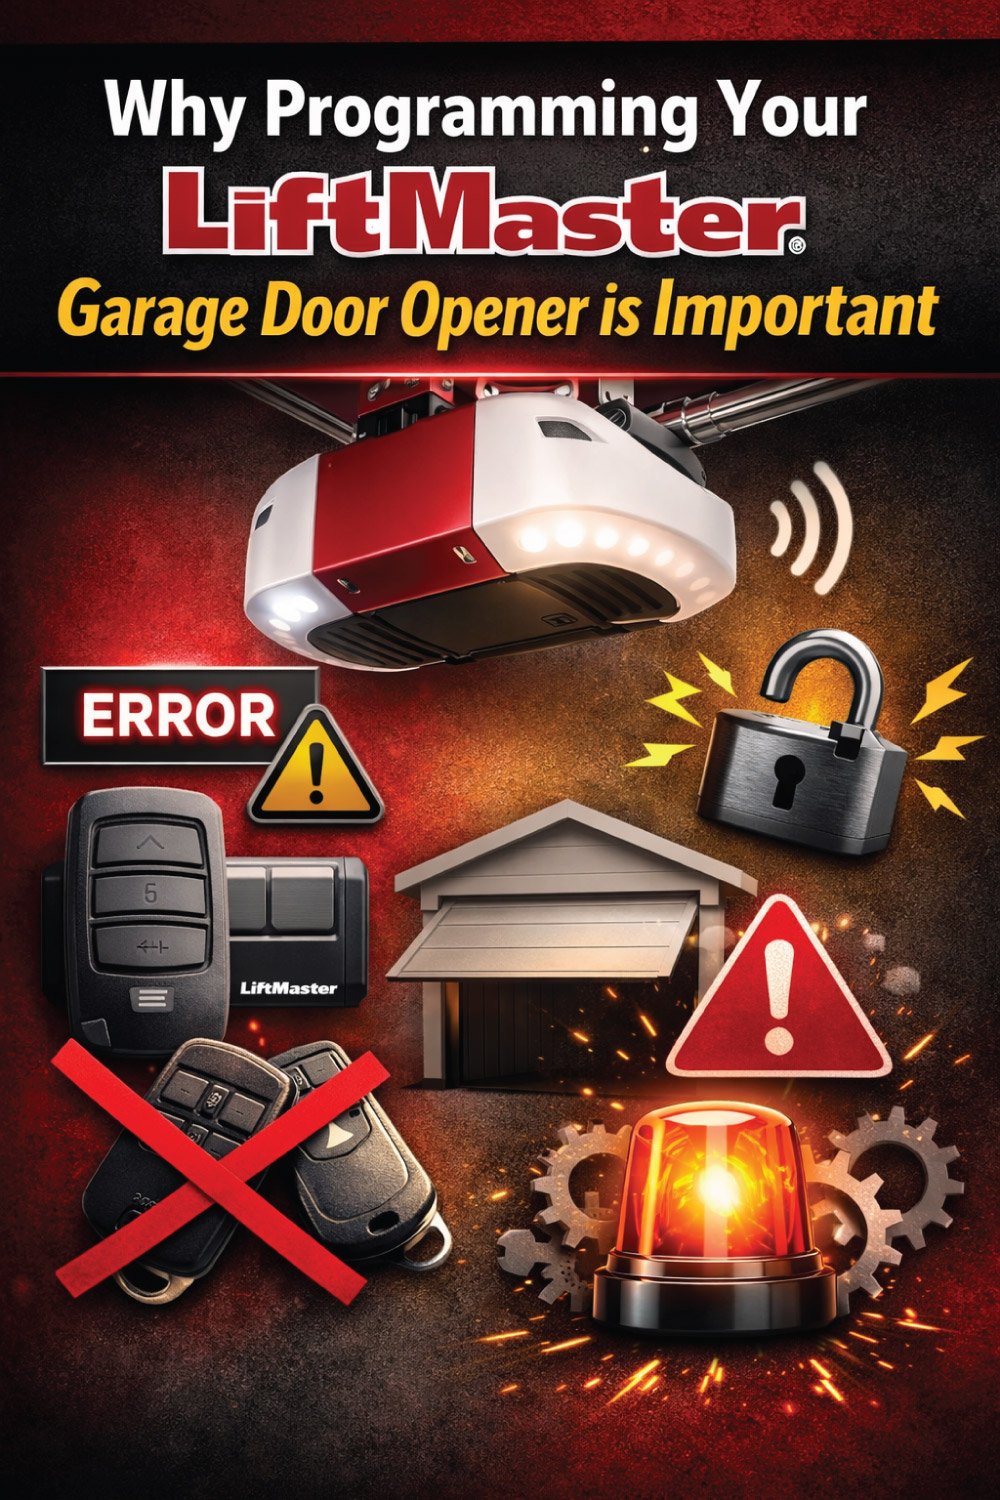
The door may not respond to your remotes.
Security may be compromised if old remotes are not cleared.
You could experience unnecessary frustration or system malfunctions.
What You will Need Before Programming
Before programming your LiftMaster garage door opener, gather all necessary items: the opener itself, a remote or keypad, a ladder for safe access, and the instruction manual if needed. Ensure the door is stationary or in manual mode to prevent accidents, and bring patience and attention to detail for a smooth programming process.
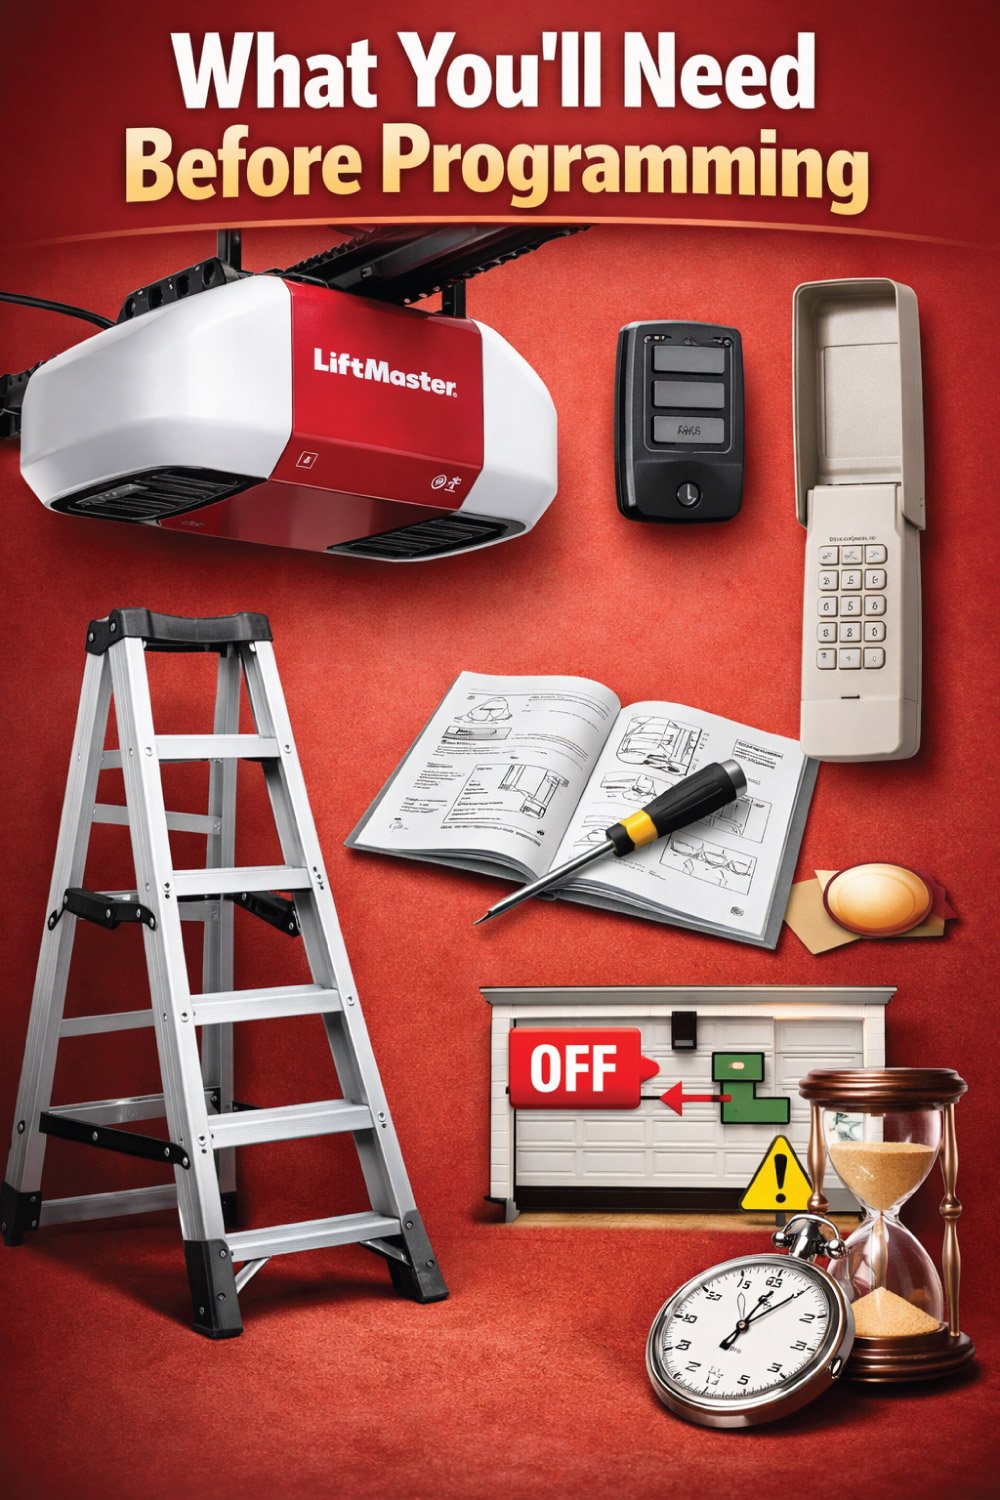
Your LiftMaster garage door opener
A remote control or keypad
Ladder or step stool (for safe access to the opener)
Instructions manual (optional but helpful)
Patience and attention to detail
It’s also important to ensure your garage door is in manual mode turned off or stationary to prevent accidents.
How to Program a LiftMaster Garage Door Opener
Programming a LiftMaster garage door opener is a simple process when you understand where to find the Learn button and how it works with remotes and keypads.
Whether you are setting up a new remote, adding a keypad, or reprogramming after replacing batteries, following the correct steps ensures smooth operation, reliable access, and enhanced security.
This guide walks you through each stage—from locating the Learn button to troubleshooting common issues—so you can confidently program your LiftMaster opener safely and correctly.
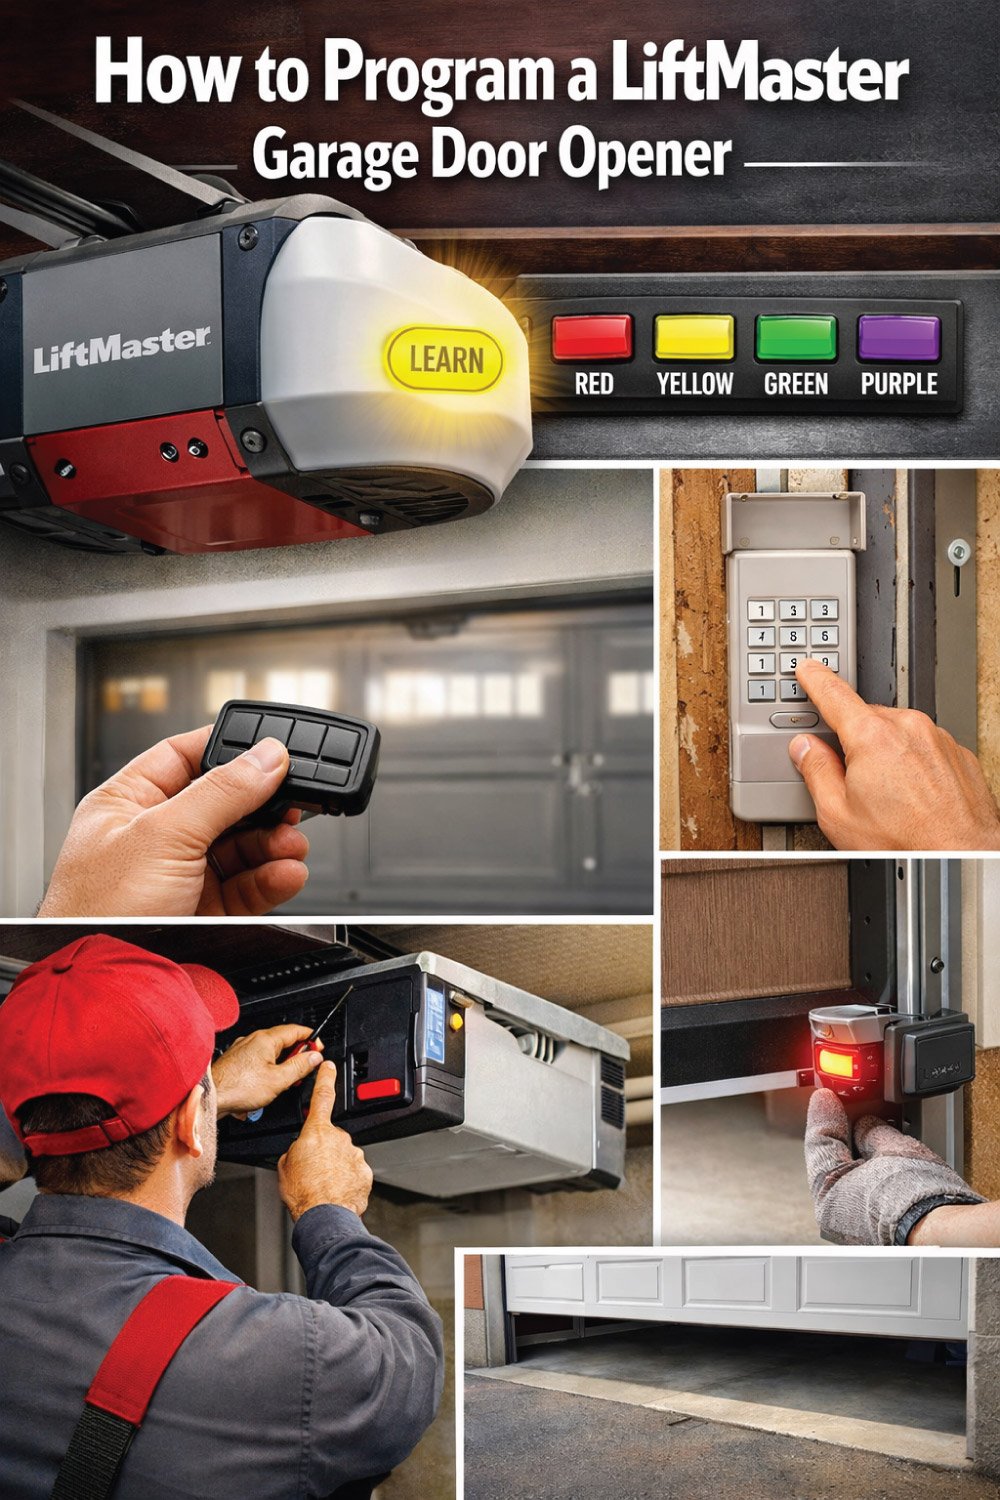
Step 1: Locate the “Learn” Button
The first step in programming a LiftMaster garage door opener is identifying the Learn button. This button allows the opener to recognize new remotes or keypads, and its location and color can vary by model.
Knowing exactly where it is and which color corresponds to your opener ensures a smooth, error-free programming process.
Tip: Some newer models have a colored Learn button (red, yellow, green, or purple), which makes it easier to identify.
LiftMaster Learn Button Color and Model Reference
The Learn button on a LiftMaster garage door opener is key to programming remotes and keypads. Its color varies by model, helping you identify the correct procedure. Knowing the button color and corresponding model ensures accurate programming and avoids errors when adding or replacing remotes.
| Learn Button Color | Common LiftMaster Models | Notes |
|---|---|---|
| Red | 8550, 8587 | Older models |
| Yellow | 8355, 8365 | Mid-range models |
| Green | 87504, 85503 | Security+2.0 technology |
| Purple | 85503, 83503 | Newer Security+ remote series |
Step 2: Programming a LiftMaster Remote
Programming a LiftMaster remote is straightforward when following the correct steps. By pressing the Learn button on the opener and then the remote, you can sync the devices quickly. Multi-button remotes or Security+2.0 models may require additional steps, but careful attention ensures each remote operates your garage door safely and reliably.
Standard Remote Setup
Programming a standard LiftMaster remote is quick and straightforward. By pressing the Learn button on the opener and then your remote, you can sync the devices within seconds. Watching the indicator light helps confirm successful pairing, ensuring your door operates smoothly. After programming, always test the remote to verify proper functionality and prevent issues during daily use.
Press the Learn button on the garage door opener.
Wait for the indicator light to turn on, signaling the opener is ready to receive a signal.
Press the button on your remote within 30 seconds.
Observe the indicator light on the motor unit: a quick blink or solid light confirms successful programming.
Test the remote by pressing the button to open and close the door.
Multi-Button Remote Setup
For remotes with multiple buttons, each button can be programmed individually. Follow the same Learn button process for each function, and be aware of any specific sequences required for multi-button or Security+2.0 models. The system can store up to 12 remotes, allowing you to add or remove devices as needed for all authorized users.
Repeat the programming steps for each button on the remote.
Follow any specific Learn button sequences if your multi-button or Security+2.0 remote requires it.
Remember that Security+2.0 models can store up to 12 remotes.
Add or remove remotes as needed to ensure all authorized users have access.
Step 3: Programming a LiftMaster Keypad
LiftMaster keypads provide keyless access, offering both convenience and security. Programming involves clearing old codes, entering a new code on the keypad, and syncing it with the opener using the Learn button. Following the correct sequence ensures reliable operation, prevents access issues, and maintains the security of your garage door system.
Clear previous codes (recommended) by pressing the Learn button for 6 seconds until the LED light turns off.
On the keypad, enter your new 4-8 digit code, then press Enter.
Press the Learn button on the motor unit.
Within 30 seconds, press Enter on the keypad again.
Test the keypad by entering your code; the door should operate smoothly.
LiftMaster Keypad Programming Reference
Programming a LiftMaster keypad allows secure access to your garage without a remote. Following the proper sequence—pressing the Learn button, entering your code, and confirming with the Enter key—ensures the keypad syncs with the opener. Accurate steps guarantee reliable operation and maintain the security of your garage door system.
| Step | Action | Indicator/Result |
|---|---|---|
| 1 | Press Learn button on motor | LED lights up |
| 2 | Enter code on keypad | No light on keypad |
| 3 | Press Enter | Keypad LED blinks |
| 4 | Press Learn on motor unit | Light blinks once |
| 5 | Press Enter on keypad | Door operates |
Step 4: Troubleshooting Common Programming Issues
Even with careful programming, LiftMaster openers and keypads can occasionally experience issues. Common problems include unresponsive remotes, keypad codes not working, slow or erratic door movement, or the opener failing to learn new remotes. Understanding the causes and applying simple solutions helps restore smooth operation quickly and safely.
Remote not responding
Replace batteries in the remote.
Ensure the remote is within 10-15 feet of the opener.
Keypad code not working
Confirm the keypad battery is charged.
Re-enter the code following the 30-second rule.
Garage door moves slowly or erratically
Check for obstructions in the door track.
Lubricate rollers and hinges with silicone-based lubricant.
Opener doesn’t learn new remotes
Clear all previous remotes by holding the Learn button for 6 seconds.
Reprogram your remotes from scratch.
👉 Is your garage door not closing properly due to sensor issues? This complete guide explains how to align garage door sensors step by step, fix common problems, and ensure safe operation. Follow easy instructions and avoid costly repairs. Don’t miss the full post for detailed guidance and expert tips!
Step 5: Safety Tips
Garage doors are powerful and can cause serious injury if safety precautions are ignored. During programming or maintenance, keep everyone clear of the door’s path, avoid standing directly beneath it, use ladders carefully, and ensure children and pets are safely out of the work area.
Ensure no one is in the path of the door during programming.
Avoid standing directly under the door.
Use a step ladder safely; never overreach.
Keep children and pets away during setup.
Step 6: Maintenance Tips for Your LiftMaster Opener
Regular maintenance keeps your LiftMaster garage door opener running smoothly and safely. Beyond programming, check remote and keypad batteries every six months, clean tracks, test safety sensors monthly, and inspect springs and cables for wear. Timely attention to these tasks prevents malfunctions, extends the life of your system, and ensures safe operation.
Check batteries in remotes and keypads every 6 months.
Clean the tracks and remove debris to prevent jamming.
Test the safety sensors monthly to avoid accidents.
Inspect springs and cables for wear; contact a professional for replacement if needed.
Advanced Tips: Smartphone Control
Many modern LiftMaster openers support MyQ smartphone integration, letting you control your garage door remotely, set operation schedules, and receive alerts if the door is left open. While programming remotes and keypads is essential, linking your opener to a smartphone adds convenience, security, and real-time monitoring for peace of mind.
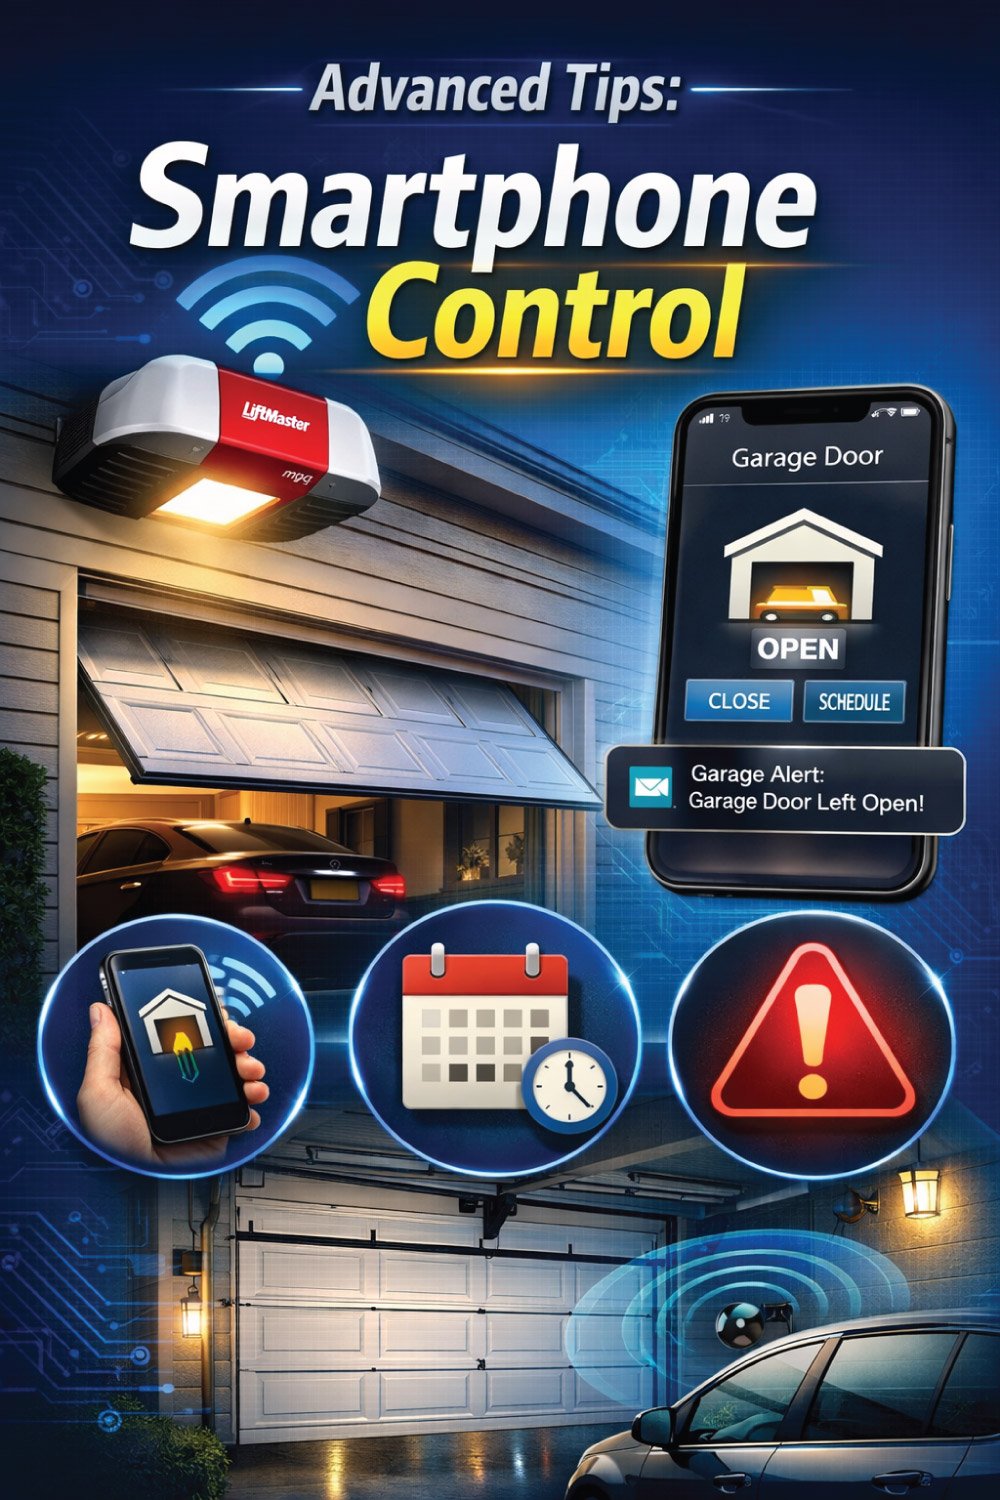
Open/close the garage door remotely.
Set schedules for door operation.
Receive alerts if the door is left open.
Programming your opener with remotes and keypads is essential, but connecting to your phone adds an extra layer of convenience.
Conclusion
Programming your LiftMaster garage door opener is a straightforward task when you follow the steps carefully. By understanding the Learn button, setting up your remotes and keypads, and following safety tips, you can ensure your garage remains secure and convenient.
With the included tables for quick reference, you can easily identify your opener model and follow programming steps without confusion. Whether you’re upgrading, adding a new remote, or setting up a keypad, this guide has you covered.
Remember: Safety comes first, and regular maintenance keeps your garage door operating smoothly for years.
👉 Is your garage door noisy or sticking? This quick guide shows you how to lubricate your garage door properly for smooth, quiet operation. Learn which parts to oil and avoid common mistakes. Don’t miss out—read the full post for simple steps and pro tips!

Engineer Ali Usman is a professional garage door expert and author at FixFasty, with over 10 years of hands-on experience in garage door systems and mechanical maintenance. He writes clear, step-by-step guides on garage door repairs, parts, and safety practices, helping homeowners fix problems correctly and maintain smooth, secure, and long-lasting garage door performance.