
Your garage door is one of the most frequently used moving parts in your home, yet it’s often overlooked until something goes wrong. A noisy opener, uneven movement, or a door that refuses to close can quickly turn into a costly repair if ignored. The good news? With regular DIY garage door maintenance, you can extend its lifespan, improve safety, and avoid expensive breakdowns.
In this in-depth guide, you will learn easy, practical, and safe DIY garage door maintenance tips that any homeowner can follow. No professional experience required—just a little time, attention, and the right approach.
Why DIY Garage Door Maintenance Matters
Garage doors can weigh 150 to 400 pounds, and they rely on multiple components working together smoothly. Small issues—like loose hardware or dry rollers—can escalate into serious problems if left unchecked.
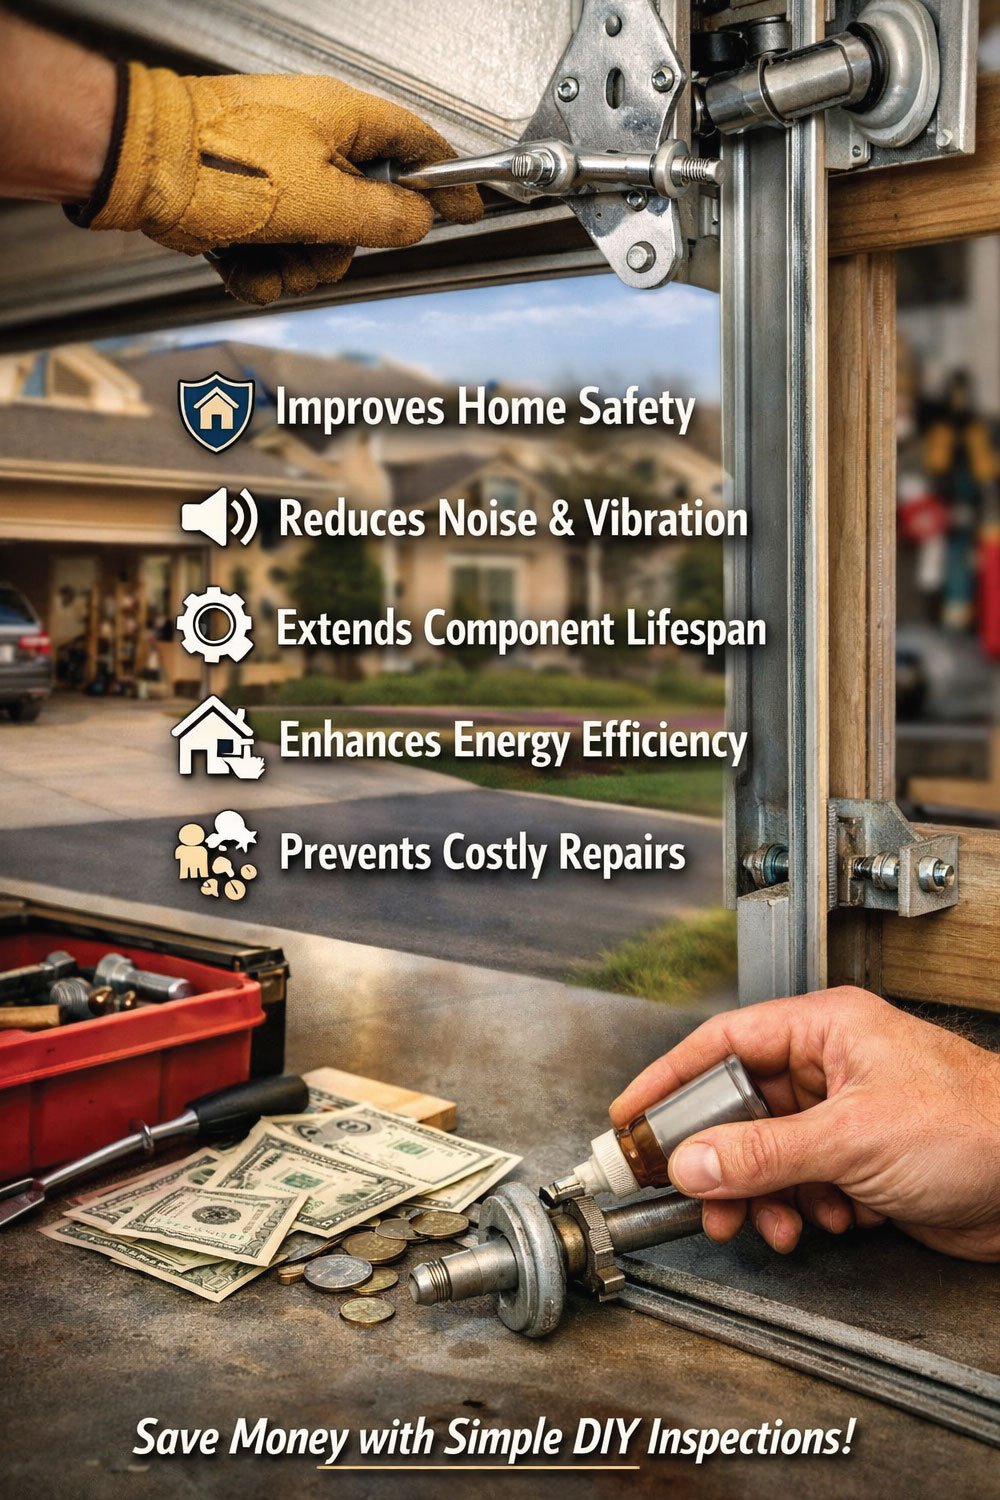
Benefits of Regular Maintenance
Improves home safety
Reduces noise and vibration
Extends the life of door components
Enhances energy efficiency
Prevents unexpected repair costs
Performing basic inspections a few times a year can save you hundreds (or even thousands) of dollars over time.
Garage Door Parts You Should Know
Springs (torsion or extension)
Rollers
Hinges
Tracks
Cables
Weather stripping
Garage door opener
Important Safety Note:
Never attempt to adjust or replace high-tension springs yourself. Those tasks should always be handled by professionals.
Essential Garage Door Parts & DIY Care Guide
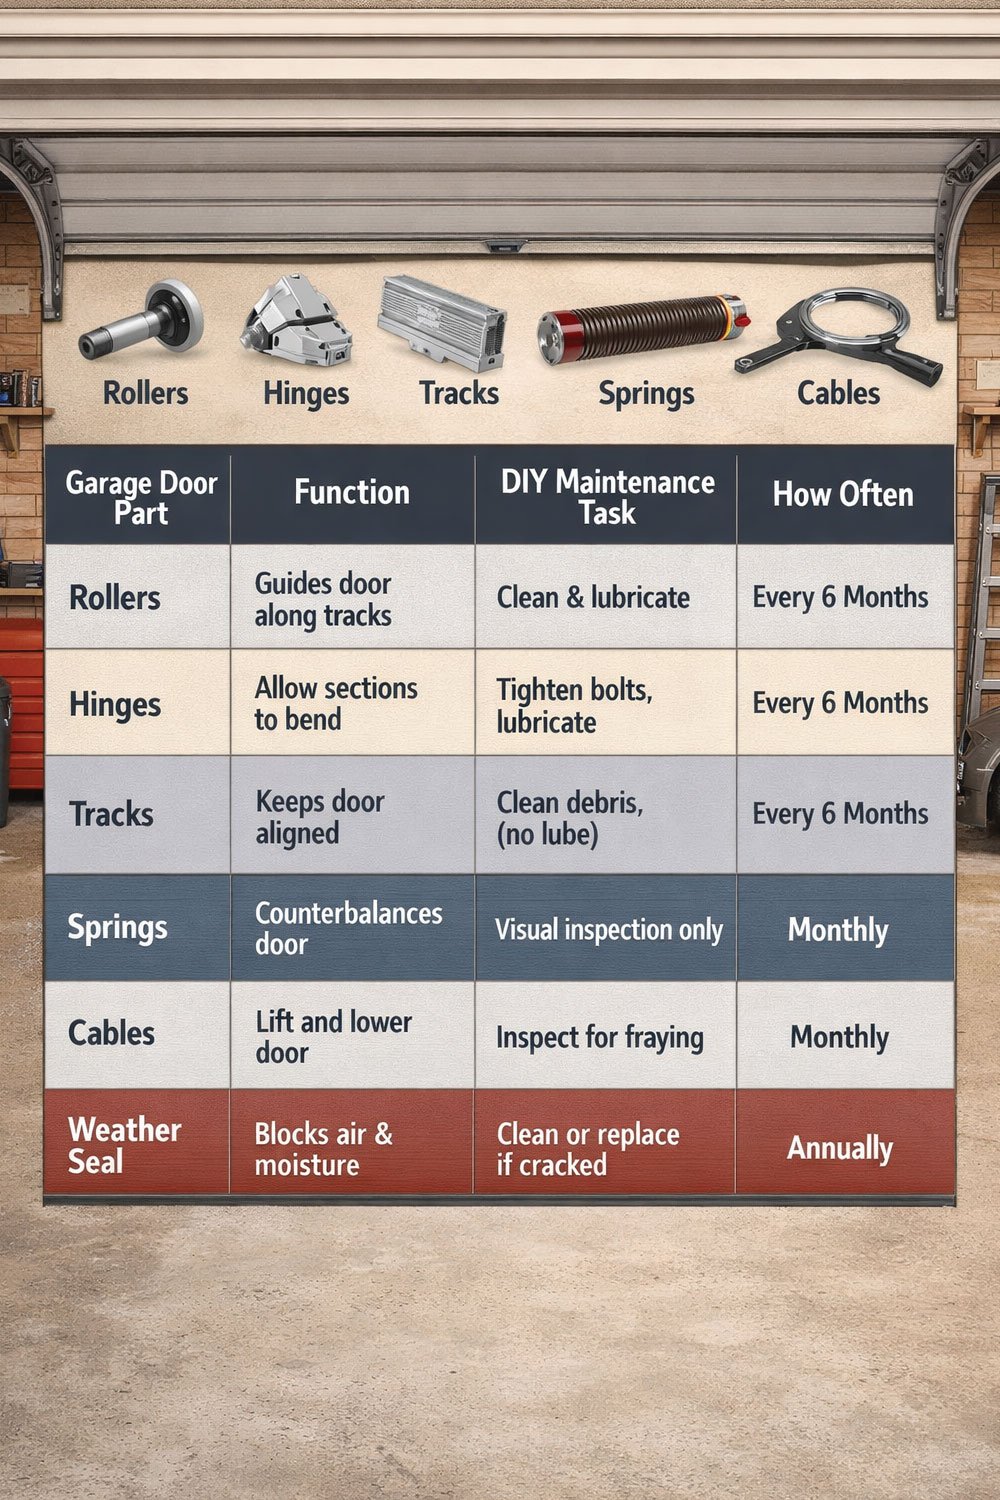
| Garage Door Part | Function | DIY Maintenance Task | How Often |
|---|---|---|---|
| Rollers | Guide door along tracks | Clean and lubricate | Every 6 months |
| Hinges | Allow door sections to bend | Tighten bolts, lubricate | Every 6 months |
| Tracks | Keep door aligned | Clean debris (do not lubricate) | Every 6 months |
| Springs | Counterbalance door weight | Visual inspection only | Monthly |
| Cables | Lift and lower door | Inspect for fraying | Monthly |
| Weather Seal | Blocks air and moisture | Clean or replace if cracked | Annually |
Step-by-Step DIY Garage Door Maintenance Tips
Regular DIY garage door maintenance is important for keeping your system safe, smooth, and long-lasting. With simple inspections and basic care, you can prevent many common problems before they become expensive repairs.
This step-by-step guide helps you understand what to check, from cables and springs to sensors and tracks. Each task is designed to improve performance and ensure all parts work properly together.
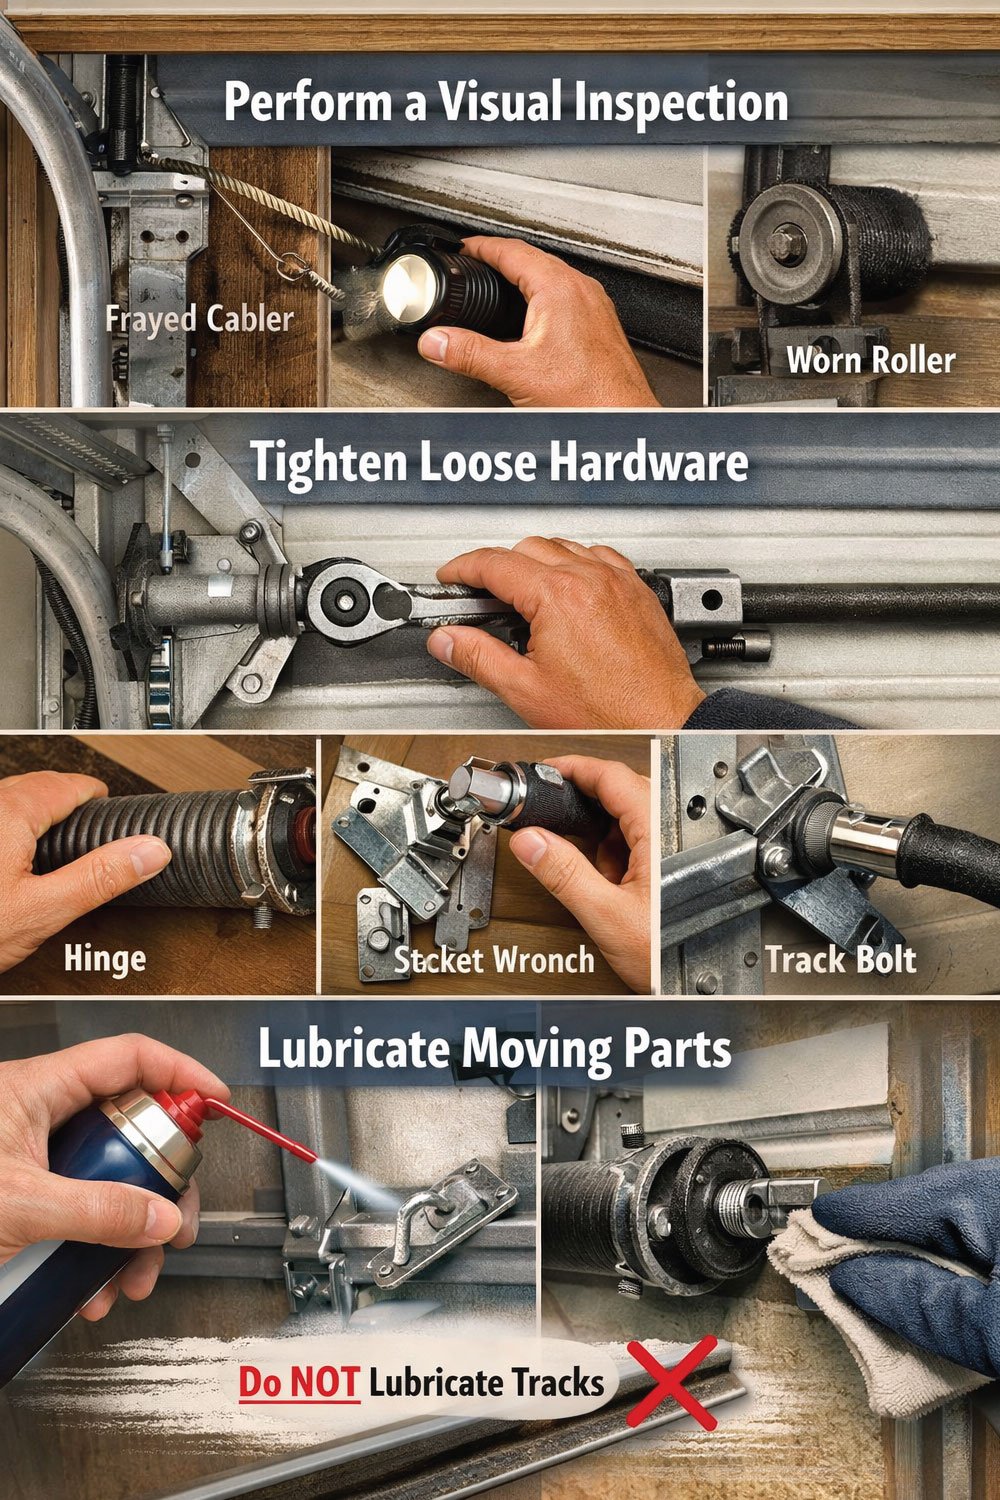
By following these maintenance tips regularly, you can extend the life of your garage door, improve safety, and keep daily operation quiet and reliable throughout the year.
1. Perform a Visual Inspection
Regular visual inspection is the first step in safe garage door maintenance. It helps you quickly identify early signs of wear, damage, or misalignment before they become serious problems.
Close the garage door and carefully examine key parts like cables, rollers, tracks, and hardware for any visible issues. Look for rust, looseness, bending, or unusual gaps in sealing.
If you notice severe damage such as frayed cables or bent tracks, avoid further use and contact a professional technician to prevent accidents and costly repairs.
Check for:
Frayed or rusted cables
Loose bolts or screws
Bent tracks
Worn rollers
Gaps in weather stripping
If something looks severely damaged, stop and call a professional.
2. Tighten Loose Hardware
Garage doors are used several times a day, and all that movement gradually loosens the hardware that keeps everything secure. Over time, vibration and repeated operation can cause bolts, brackets, and fasteners to shift slightly out of place, which may affect the door’s performance and safety.
To keep everything stable, regularly inspect and tighten key components such as roller brackets, hinges, and track bolts. These parts hold the structure together and ensure smooth movement along the tracks, so even minor looseness can lead to misalignment or noise.
Use a socket wrench for proper tightening, but be careful not to apply excessive force. Overtightening can strip threads or even crack metal components, creating bigger issues than loose hardware. A firm but controlled approach will help maintain durability without causing damage.
What to tighten:
Roller brackets
Hinges
Track bolts
Use a socket wrench and avoid overtightening, which can strip threads or crack metal.
3. Lubricate Moving Parts (Correctly)
Lubrication plays a vital role in maintaining a quiet and efficient garage door system. Without proper lubrication, friction increases between moving parts, leading to wear, noise, and potential mechanical failure over time. Consistent care helps extend the life of your door components.
Use a silicone-based or garage-door-specific lubricant to ensure optimal performance. Apply it to essential moving parts such as metal rollers, hinges, springs, and bearing plates. These areas experience the most movement and benefit greatly from reduced friction and smoother operation.
Avoid lubricating the tracks, as this can attract dust and debris, making the problem worse. Instead, keep tracks clean and dry by wiping them with a cloth. Proper lubrication combined with clean tracks ensures your garage door operates smoothly and quietly.
Lubricate these parts:
Rollers (metal only)
Hinges
Springs
Bearing plates
Do NOT lubricate tracks.
Clean them instead with a dry cloth.
4. Clean and Align Garage Door Tracks
Garage door tracks guide the door’s movement, so keeping them clean and properly aligned is essential for smooth operation. Dirt, grease buildup, or slight misalignment can cause the door to jerk, make noise, or even get stuck during opening and closing.
To clean the tracks, use a damp cloth to wipe away dirt, dust, and hardened grease. Make sure to remove any buildup thoroughly, as even small obstructions can interfere with the rollers. After cleaning, dry the tracks completely to prevent rust or residue formation.
If you notice bent or misaligned tracks, avoid trying to fix them yourself. Forcing them back into place can worsen the damage or create safety risks. In such cases, it’s best to contact a professional technician for proper adjustment and repair.
How to clean tracks:
Wipe with a damp cloth
Remove dirt and hardened grease
Dry thoroughly
If tracks appear bent or misaligned, do not attempt to force them—this requires professional adjustment.
5. Test Door Balance
A properly balanced garage door is crucial for safe and efficient operation. When the door is balanced, it distributes weight evenly, reducing strain on the opener and preventing unnecessary wear on components. An unbalanced door can lead to costly repairs if ignored.
To test the balance, first disconnect the opener by pulling the release cord. Then manually lift the door to about halfway and carefully let go. This simple test helps determine whether the door is functioning correctly or needs adjustment.
If the door stays in place, it is properly balanced. However, if it falls quickly or rises on its own, it indicates an imbalance that requires professional attention. Ignoring this issue can strain the opener and shorten the lifespan of your garage system.
How to test:
Disconnect the opener (pull the release cord)
Lift the door halfway manually
Let go
6. Inspect Garage Door Springs (Visual Only)
Garage door springs are responsible for carrying most of the door’s weight, making them one of the most critical components in the system. Because they operate under extreme tension, even minor issues can pose serious safety risks if not addressed promptly.
Perform a visual inspection by looking for signs such as rust, gaps between coils, or uneven stretching. These indicators suggest that the springs may be weakening or nearing the end of their lifespan, which could lead to sudden failure.
It is important to never touch or attempt to adjust the springs yourself. Due to the high tension they hold, improper handling can result in severe injury. If you notice any issues, contact a trained technician to safely inspect and repair them.
Look for:
Rust
Gaps in coils
Uneven stretching
Never touch or adjust springs yourself.
7. Test Safety Sensors
Garage door safety sensors are designed to prevent accidents by detecting obstacles in the door’s path. These sensors play a critical role in protecting people, pets, and objects from being struck when the door is closing. Keeping them in proper working condition is essential for overall safety.
To test the sensors, place a small object under the door and attempt to close it. The door should immediately reverse once the sensors detect the obstruction. This confirms that the system is functioning correctly and responding as intended.
If the door does not reverse, inspect the sensors by cleaning the lenses, checking their alignment, and ensuring the wiring is intact. Even minor misalignment or dirt buildup can disrupt their function, so regular checks help maintain reliability.
How to test:
Place a small object under the door
Close the door
The door should immediately reverse. If not:
Clean sensor lenses
Check alignment
Ensure wiring is intact
📖 Continue Reading: Expert Garage Door Advice ➜ How to Lubricate Garage Door Springs Safely Guide
8. Check the Auto-Reverse Feature
The auto-reverse feature is another important safety mechanism that prevents injuries and damage. It ensures that the garage door automatically reverses direction if it encounters resistance while closing, reducing the risk of accidents.
To test this feature, place a solid object like a wooden block on the ground where the door will close. Activate the door and observe its behavior when it touches the object. A properly functioning system will immediately reverse upon contact.
If the door fails to reverse, stop using it right away. This indicates a serious safety issue that requires professional attention. Continuing to operate the door in this condition can be dangerous and may lead to injury or property damage.
Test method:
Place a wooden block under the door
Close it
If the door doesn’t reverse on contact, stop using it and get professional help immediately.
9. Replace Worn Weather Stripping
Weather stripping forms a protective seal along the bottom and edges of your garage door, helping to keep out moisture, dust, pests, and drafts. Over time, exposure to weather conditions can cause the material to wear out or deteriorate.
Look for signs such as cracks, brittleness, visible light coming through gaps, or noticeable cold air entering the garage. These are clear indicators that the weather stripping is no longer effective and needs replacement.
Replacing worn seals is a simple and affordable maintenance task that can improve insulation and protect your garage interior. Proper sealing also helps maintain energy efficiency and keeps your space cleaner and more comfortable.
Signs it needs replacement:
Cracks or brittleness
Light visible under the door
Cold air drafts
New weather stripping is inexpensive and easy to install.
10. Keep the Garage Door Clean
Regular cleaning is an often-overlooked part of garage door maintenance, but it plays an important role in preserving both appearance and function. Dirt and grime can build up over time, potentially hiding damage or contributing to long-term wear.
To clean your garage door, use mild soap and water to gently wash the panels. This removes dust, stains, and debris without damaging the surface. After washing, rinse thoroughly to prevent residue buildup.
Avoid using harsh chemicals, as they can strip protective finishes or cause discoloration. Keeping your garage door clean not only extends its lifespan but also enhances your home’s overall curb appeal.
Cleaning tips:
Wash door panels with mild soap and water
Rinse thoroughly
Avoid harsh chemicals
This also keeps your home’s exterior looking well-maintained.
📖 Continue Reading: Expert Garage Door Advice ➜ How to Lubricate Garage Door Hinges for Quiet Operation
DIY Maintenance Schedule for Garage Doors
This schedule provides a simple, structured way to keep your garage door in top condition throughout the year. By following these timelines, you can prevent unexpected breakdowns, extend the lifespan of components, and maintain safe operation with minimal effort.
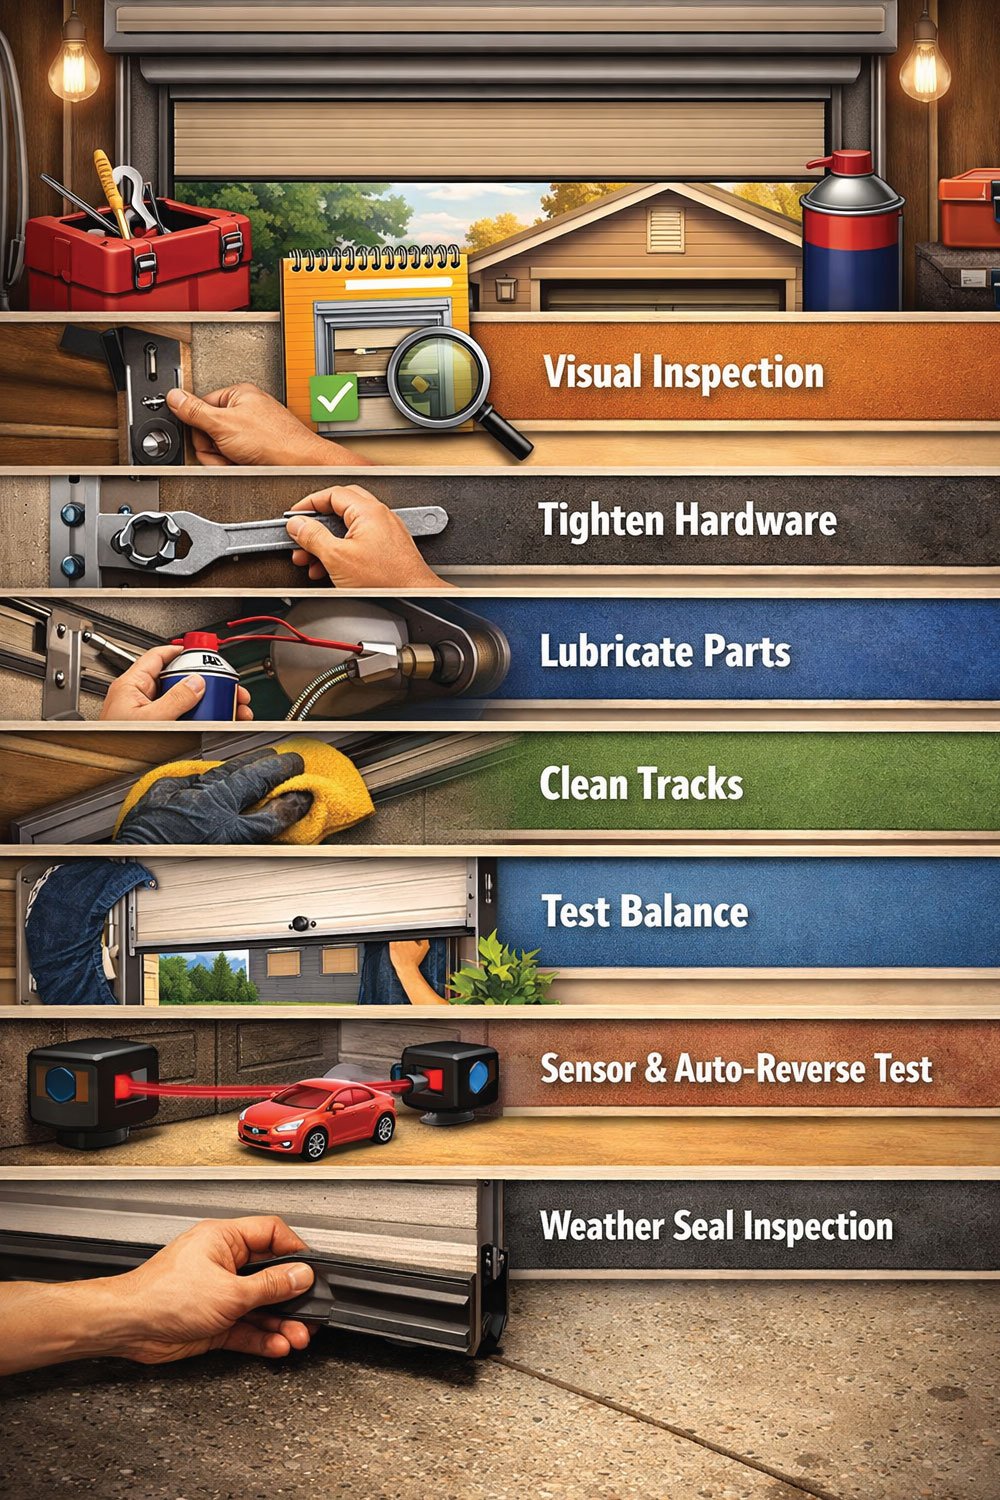
| Maintenance Task | Frequency | Time Required | Difficulty Level |
|---|---|---|---|
| Visual inspection | Monthly | 10 minutes | Easy |
| Tighten hardware | Every 6 months | 20 minutes | Easy |
| Lubricate parts | Every 6 months | 15 minutes | Easy |
| Clean tracks | Every 6 months | 15 minutes | Easy |
| Test balance | Annually | 10 minutes | Medium |
| Sensor & auto-reverse test | Monthly | 5 minutes | Easy |
| Weather seal inspection | Annually | 10 minutes | Easy |
Common DIY Garage Door Maintenance Mistakes to Avoid
Even well-intentioned homeowners can cause damage by making these mistakes:
Using WD-40 instead of proper lubricant
Attempting to adjust or replace springs
Ignoring unusual noises
Overtightening bolts
Lubricating tracks
Avoiding these errors keeps your maintenance safe and effective.
When to Call a Professional
DIY maintenance is great for prevention, but some issues require expert handling.
Call a professional if you notice:
Broken or stretched springs
Snapped cables
Door off track
Motor failure
Severe alignment issues
Addressing these early prevents further damage and safety risks.
📖 Continue Reading: Expert Garage Door Advice ➜ How to Program a LiftMaster Garage Door Opener (Easy Step-by-Step Guide)
Final Thoughts:
DIY garage door maintenance doesn’t require advanced skills—just consistency. Spending 30–60 minutes a few times a year can dramatically improve your garage door’s performance, safety, and lifespan. By following these simple, homeowner-friendly tips, you’ll:
Reduce repair costs
Improve daily operation
Increase your home’s overall value
Your garage door works hard for you—give it the care it deserves.

Engineer Ali Usman is a professional garage door expert and author at FixFasty, with over 10 years of hands-on experience in garage door systems and mechanical maintenance. He writes clear, step-by-step guides on garage door repairs, parts, and safety practices, helping homeowners fix problems correctly and maintain smooth, secure, and long-lasting garage door performance.