
A garage door that won’t close is more than an inconvenience. It can leave your home vulnerable to theft, expose stored belongings to weather, and create safety risks for children, pets, and vehicles. In many cases, the problem is caused by a simple issue such as dirty safety sensors, an obstruction in the tracks, or an incorrect opener setting. However, mechanical failures, electrical issues, or damaged components can also prevent the door from closing properly.
The good news is that many garage door closing problems can be diagnosed without advanced tools or specialized training. Understanding how the system normally works makes it much easier to identify the source of the problem and decide whether a DIY repair is appropriate or if professional service is the safer option.
In this repair guide, you’ll learn the most common reasons a garage door won’t close, how to recognize warning signs, the safety precautions to take before troubleshooting, the tools you’ll need, and a logical step-by-step diagnosis process. By following these practical instructions, you can narrow down the cause quickly and avoid replacing parts unnecessarily.
Common Signs and Symptoms
Before attempting any repairs, it helps to identify exactly how the garage door is behaving. Different symptoms often point to different underlying problems. Paying attention to these details saves time during troubleshooting and helps prevent unnecessary repairs.
Common signs include:
- The garage door starts closing but immediately reverses.
- The door closes partway and then stops.
- The opener motor runs, but the door does not move.
- The remote works inconsistently.
- The wall control operates the door, but the remote does not.
- The garage door beeps or flashes before reversing.
- The opener lights blink repeatedly.
- The door feels unusually heavy when operated manually.
- Grinding, scraping, or popping noises occur while closing.
- The door closes unevenly or appears crooked.
- The garage door refuses to move at all.
- The door reaches the floor but immediately opens again.
For example, if the door reverses just before touching the ground, the travel limit settings may need adjustment. If it reverses halfway down, something may be blocking the safety sensors or interfering with the tracks.
Observing exactly when the problem occurs is often the fastest way to narrow down the common causes before beginning repairs.
How the Appliance or System Normally Works
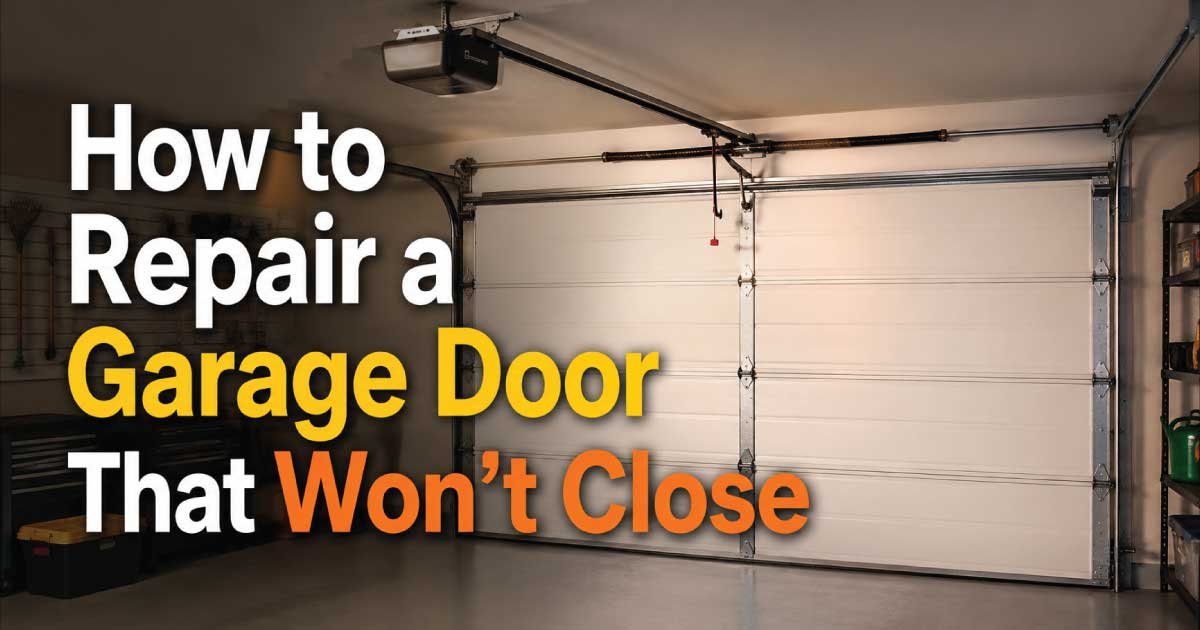
Knowing how a garage door system operates makes troubleshooting much easier. Modern garage doors rely on several components working together. When even one part fails, the opener may stop the closing cycle to prevent damage or injury.
A typical garage door system includes:
- Garage door opener motor
- Drive belt, chain, or screw mechanism
- Torsion or extension springs
- Lift cables
- Rollers and tracks
- Hinges
- Safety photo-eye sensors
- Wall control
- Remote transmitters
- Travel and force adjustment settings
Here’s what normally happens:
- You press the remote or wall button.
- The opener motor activates.
- The drive mechanism moves the trolley.
- The springs support most of the door’s weight.
- Rollers travel smoothly inside the tracks.
- Safety sensors continuously monitor for obstacles.
- The opener stops automatically once the door reaches the fully closed position.
Modern openers constantly monitor resistance. If the motor senses excessive force or the photo-eye sensors detect an object crossing the beam, the opener immediately reverses the door to reduce the risk of injury or property damage.
This built-in safety feature explains why many closing problems are actually protective responses rather than major mechanical failures.
Most Common Reasons This Problem Happens
Garage doors can stop closing for several different reasons. Some problems are simple maintenance issues, while others involve worn mechanical parts or electrical faults. Identifying the correct cause before replacing components prevents wasted time and unnecessary expense.
Dirty or Misaligned Safety Sensors
The safety sensors are one of the most common reasons a garage door refuses to close. Located near the bottom of each side of the door opening, these sensors create an invisible beam. If the beam is interrupted, the opener assumes something is blocking the door.
Why it happens
- Dust or spider webs cover the lenses.
- Sensors are bumped out of alignment.
- Moisture causes temporary interference.
- Sunlight affects older sensor designs.
Symptoms
- Door starts closing then immediately reverses.
- Opener lights flash.
- Indicator LEDs on sensors blink.
How to identify it
Inspect both sensor lenses for dirt and verify that both indicator lights are illuminated steadily rather than flashing.
Obstructions in the Door Tracks
Even a small object inside the track can interfere with smooth roller movement.
Why it happens
- Leaves or stones become lodged.
- Bent track sections create resistance.
- Loose hardware shifts track alignment.
Symptoms
- Door stops midway.
- Scraping sounds occur.
- Rollers appear to bind.
How to identify it
Visually inspect both tracks from top to bottom while looking for dents, debris, or damaged rollers.
Travel Limit Settings Are Incorrect
Garage door openers use travel limits to determine where the door should stop.
Why it happens
- Previous adjustments were incorrect.
- Normal vibration changes settings over time.
- New weather stripping alters the closing point.
Symptoms
- Door reaches the floor then reverses.
- Door stops several inches above the ground.
How to identify it
Observe whether the door behaves consistently at the same location during every closing cycle.
Broken Springs
Garage door springs carry most of the door’s weight.
Why it happens
- Metal fatigue after thousands of cycles.
- Corrosion.
- Age.
Symptoms
- Door feels extremely heavy.
- Opener struggles.
- Loud bang was heard previously.
How to identify it
Look for a visible gap in a torsion spring or hanging extension spring. Never touch damaged springs because they remain under dangerous tension.
Damaged Rollers or Tracks
Rollers guide the garage door through the tracks.
Why it happens
- Worn bearings.
- Impact damage.
- Lack of lubrication.
Symptoms
- Jerky movement.
- Loud grinding.
- Uneven door travel.
How to identify it
Watch each roller while operating the door manually. Any roller that sticks or wobbles deserves closer inspection.
Electrical or Opener Issues
Sometimes the problem lies inside the opener itself.
Why it happens
- Power interruptions.
- Failed circuit board.
- Loose wiring.
- Overheated motor.
Symptoms
- No response from opener.
- Intermittent operation.
- Clicking sounds only.
How to identify it
Verify power at the outlet, inspect the breaker, and confirm the opener’s lights function normally.
Safety Precautions Before Troubleshooting
Garage doors are among the heaviest moving systems in a home. Although many repairs are safe for homeowners, others involve components under extreme tension or electrical hazards. Taking proper precautions significantly reduces the risk of injury.
Before beginning any diagnosis:
- Disconnect the garage door opener from electrical power when inspecting internal components.
- Keep children and pets away from the work area.
- Wear safety glasses and work gloves.
- Use a stable ladder positioned on level ground.
- Never place fingers between door sections.
- Do not loosen or remove torsion springs.
- Avoid adjusting lift cables under tension.
- Keep hands away from moving rollers.
- Use the emergency release only when the door is fully closed whenever possible.
- Never stand directly beneath a partially open garage door.
If the door appears crooked, has broken cables, or shows signs of spring failure, stop troubleshooting immediately. These repairs require specialized tools and experience because improperly handled springs can release tremendous stored energy.
A good rule is simple: cleaning, inspecting, lubricating, and adjusting sensors are generally suitable DIY tasks. Repairs involving springs, cables, or major structural components should usually be left to a qualified garage door technician.
Tools Required
Before starting the troubleshooting process, gather the tools you are most likely to need. Having everything ready allows you to work methodically without stopping midway through the inspection.
| Tool | Purpose |
|---|---|
| Safety glasses | Protect eyes from dust and debris |
| Work gloves | Protect hands while inspecting components |
| Flashlight | Illuminate tracks, rollers, and opener |
| Step ladder | Safely reach opener and upper hardware |
| Microfiber cloth | Clean safety sensor lenses |
| Soft brush | Remove dirt from tracks |
| Tape measure | Check door alignment and travel |
| Screwdriver set | Tighten loose hardware and covers |
| Adjustable wrench | Inspect and tighten accessible bolts |
| Garage door lubricant | Lubricate rollers, hinges, and bearings |
| Level | Verify sensor and track alignment |
| Multimeter (optional) | Diagnose electrical issues if needed |
Step-by-Step Troubleshooting Guide
The most effective way to repair a garage door that won’t close is to work through a logical inspection sequence. Start with the easiest and safest checks before moving toward more complex mechanical or electrical diagnosis. This approach often identifies the problem quickly without unnecessary disassembly.
Inspect for obvious obstructions.
Look along the floor, tracks, and doorway for tools, debris, or objects blocking the door. Even a small obstruction can trigger the opener’s safety system. If you remove an obstruction and the door closes normally, no further troubleshooting is needed.
Check the safety sensors.
Examine both photo-eye sensors for dirt, cobwebs, or misalignment. Clean the lenses with a soft microfiber cloth and confirm both indicator lights are steady. If one light is flashing, realign the sensors and test the door again.
Test the garage door manually.
Disconnect the opener using the emergency release cord with the door fully closed if possible. Lift the door by hand. It should move smoothly and stay roughly halfway open without falling. If it feels unusually heavy or binds, a mechanical issue is likely present and should be addressed before reconnecting the opener.
Inspect the tracks and rollers.
Check both tracks for dents, loose brackets, or accumulated debris. Rollers should move freely without wobbling or leaving the track. Minor dirt can be cleaned away, but bent tracks or damaged rollers may require repair or replacement.
Observe the opener during a closing cycle.
Reconnect the opener and watch the entire movement. Note whether the door reverses immediately, stops halfway, or reaches the floor before reopening. The exact point of failure helps identify whether the issue is related to sensors, travel limits, or mechanical resistance.
Verify power and controls.
Test both the wall button and remote control. If neither works, check the power outlet and circuit breaker. If only the remote fails, replace its battery and re-test before investigating the opener itself.
Also Read:
Quick Diagnosis Table
This quick-reference table summarizes common symptoms, likely causes, and the most appropriate next step. Use it as a starting point before performing repairs.
| Symptom | Possible Cause | Recommended Solution |
|---|---|---|
| Door immediately reverses | Misaligned safety sensors | Clean and realign sensors |
| Door stops halfway | Track obstruction or damaged rollers | Inspect and clear tracks; replace damaged rollers if needed |
| Door reaches floor then opens | Travel limit setting incorrect | Adjust opener travel limits |
| Motor runs but door doesn’t move | Disconnected trolley or mechanical failure | Inspect opener connection and door hardware |
| Door feels extremely heavy | Broken spring | Stop using the door and arrange professional repair |
| Grinding or scraping noise | Worn rollers or damaged track | Inspect components and replace worn parts |
| Wall button works but remote doesn’t | Remote battery or programming issue | Replace battery and reprogram remote if necessary |
| No response from opener | Electrical issue or failed opener | Check power supply, breaker, and opener diagnostics |

Engineer Ali Usman is a professional garage door expert and author at FixFasty, with over 10 years of hands-on experience in garage door systems and mechanical maintenance. He writes clear, step-by-step guides on garage door repairs, parts, and safety practices, helping homeowners fix problems correctly and maintain smooth, secure, and long-lasting garage door performance.