

Understand Garage Door Openers
Before programming your garage door opener, it’s important to identify the type you have.
Openers vary chain, belt, screw, or smart/Wi-Fi models and each has unique features and maintenance needs.
Knowing your opener type ensures you follow the correct programming steps and take full advantage of its capabilities safely and efficiently.
| Garage Door Opener Type | Description | Common Features |
|---|---|---|
| Chain Drive | Uses a chain to lift the door | Durable, good for heavy doors, slightly noisy |
| Belt Drive | Uses a rubber belt | Quiet operation, smooth, low maintenance |
| Screw Drive | Uses a threaded steel rod | Simple design, requires less maintenance, moderate noise |
| Smart/Wi-Fi Enabled | Connects to your phone or smart home system | Remote access, app control, alerts, extra security |
Knowing your opener type is essential because programming steps can slightly differ between models.
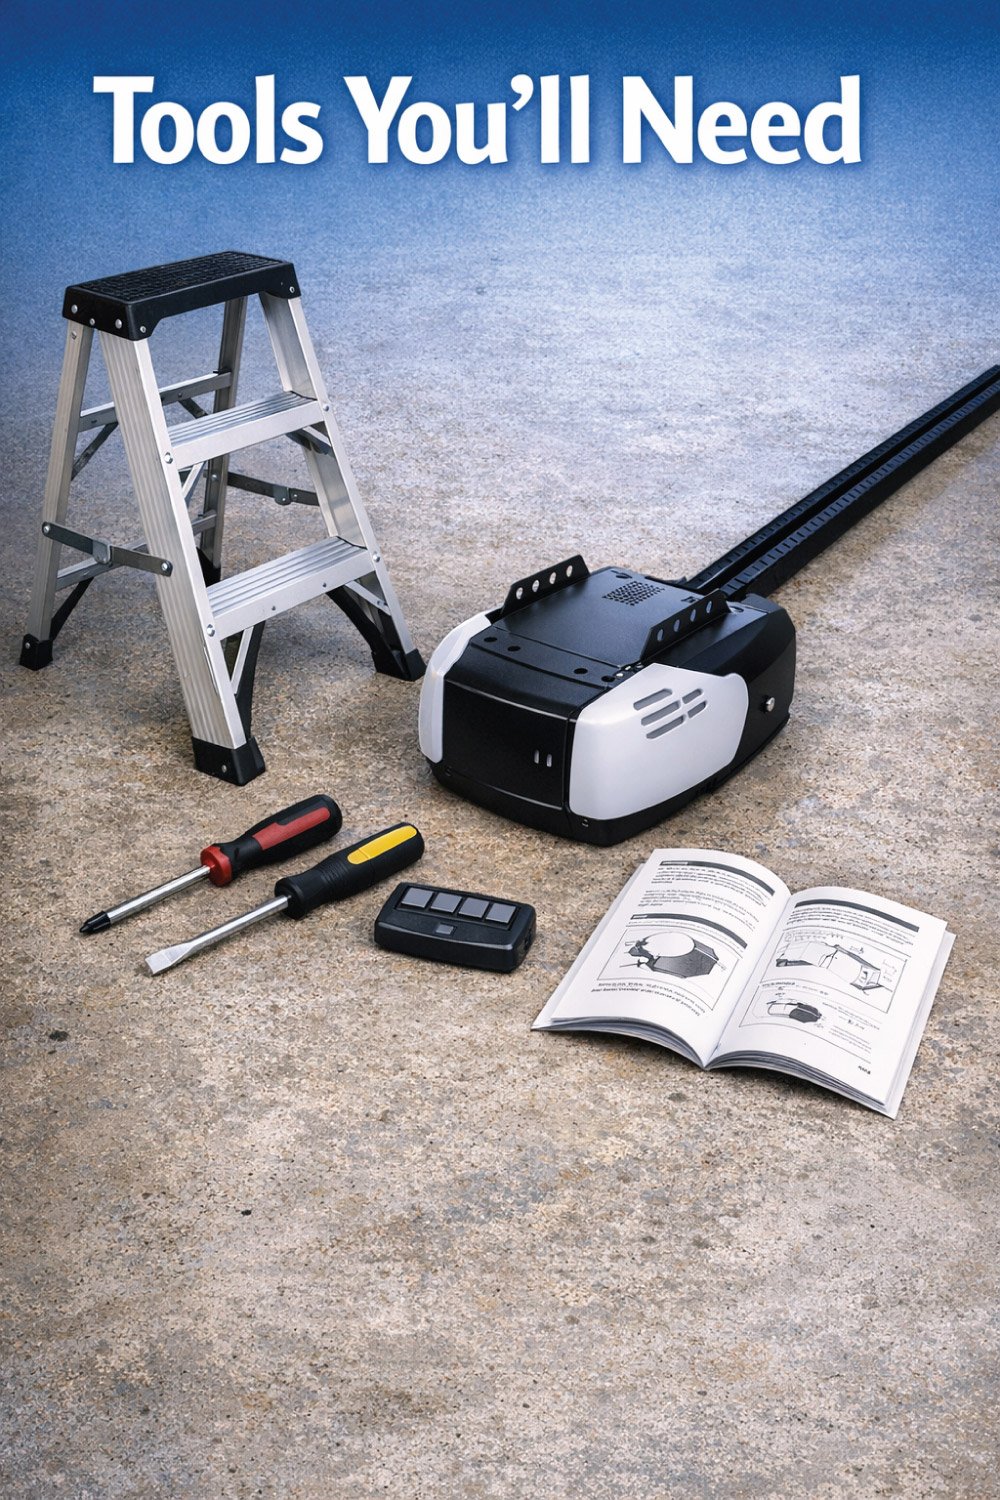
Tools You will Need
Preparing the right tools makes programming your garage door opener safer and more efficient.
Gather a step ladder, screwdriver, your opener and remote, and the user manual if available.
Having everything ready ensures a smoother process, prevents mistakes, and helps you complete the setup quickly and safely.
Step ladder
Screwdriver (usually Phillips or flathead)
Your garage door opener remote
Your garage door opener unit
User manual (optional, but helpful for brand-specific instructions)
Having everything ready will make the process smoother and safer.
Step-by-Step Guide to Program Your Garage Door Opener
Programming your garage door opener ensures smooth, secure, and convenient operation.
By following a systematic process preparing the opener and remotes, pressing the Learn button, programming each device, testing functionality, and syncing additional remotes—you can avoid errors and maximize reliability.
Careful attention at each step guarantees your garage door operates safely and efficiently for all authorized users.
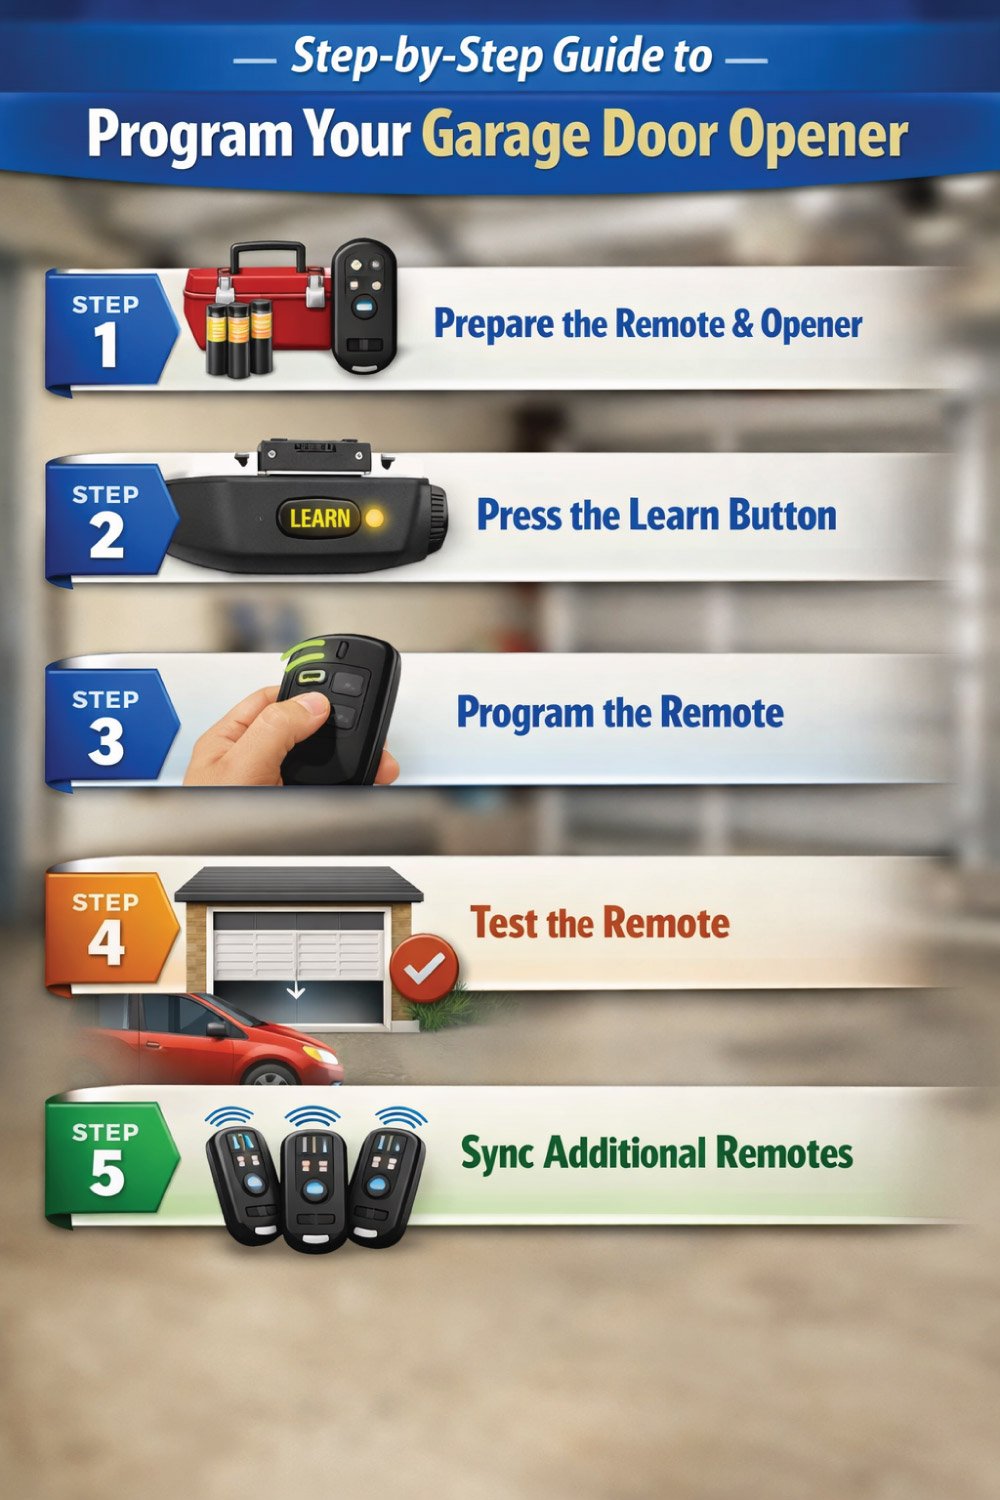
Step 1: Prepare the Remote and Opener
Before starting the programming process, preparation is key to a smooth and safe setup.
Make sure the garage door is fully closed, your remote has fresh batteries, and you know the location of the opener’s Learn button.
Gathering all remotes you plan to program ahead of time helps prevent interruptions and ensures each device syncs correctly with the opener.
Key Points:
Ensure the garage door is fully closed.
Locate the Learn button on the motor unit.
Check remote batteries.
Gather any additional remotes you want to program.
Step 2: Press the Learn Button
Key Points:
Press the Learn button on the opener.
Watch for the indicator light to turn on or blink.
You have roughly 30 seconds to press the remote button.
Step 3: Program the Remote
Once the opener is in programming mode, this step links your remote to the garage door system.
Proper timing and visual confirmation from the indicator light are key to success. If the signal isn’t accepted right away,
Donot worry—repeating the process usually resolves syncing issues and ensures the remote is correctly programmed.
Key Points:
Press the desired button on your remote.
Observe the indicator light for confirmation.
Repeat programming if the light blinks rapidly.
Step 4: Test the Remote
Testing the remote confirms that programming was successful and ensures your garage door operates safely and smoothly.
This step helps you catch issues early, such as weak batteries or signal problems, before relying on the opener for daily use.
Always perform the test from a safe distance and observe the door’s movement carefully.
Key Points:
Stand safely away from the door.
Press the remote button to test.
Ensure smooth operation.
Troubleshoot if necessary (battery, range, repeat steps).
Step 5: Sync Additional Remotes
Syncing additional remotes allows every authorized user to operate the garage door conveniently and securely.
Most modern garage door openers can store multiple remotes, making it easy to add new ones without affecting existing settings.
By carefully programming and testing each remote, you ensure consistent performance and avoid access issues for family members or trusted users.
Key Points:
Repeat programming steps for each additional remote.
Ensure indicator light confirms each remote.
Test all remotes for proper function.
👉 How to Open a Garage Door Manually is an essential guide for emergencies and power outages. Learn simple, step-by-step instructions to safely open your garage door without hassle. This quick and easy guide helps you stay prepared anytime—read the full post to master the process confidently and avoid common mistakes.
Troubleshooting Common Issues
Even with proper programming, garage door openers can encounter issues. Common problems include unresponsive remotes, random door movement, indicator lights not functioning, or the door reversing unexpectedly.
Understanding the likely causes and following simple solutions helps you resolve these issues quickly, keeping your opener reliable and safe without needing professional assistance.
| Problem | Possible Cause | Solution |
|---|---|---|
| Remote doesn’t work | Dead battery | Replace battery and retry |
| Door opens/closes randomly | Signal interference | Reprogram remote, check nearby electronics |
| Learn button light doesn’t turn on | Power issue | Check power source and reset opener |
| Garage door reverses mid-motion | Safety sensors misaligned | Adjust sensors and clean them |
Following this table ensures most common problems are resolved quickly without professional help.
Advanced Tips for Programming
Advanced programming tips can make setting up your garage door opener faster and more reliable, especially if you’re using newer technology or adding extra remotes.
Understanding alternative programming methods, such as wall controls or mobile apps, helps you avoid common setup issues and ensures your opener works smoothly with all devices.
These tips are especially useful for smart and multi-remote garage door systems.
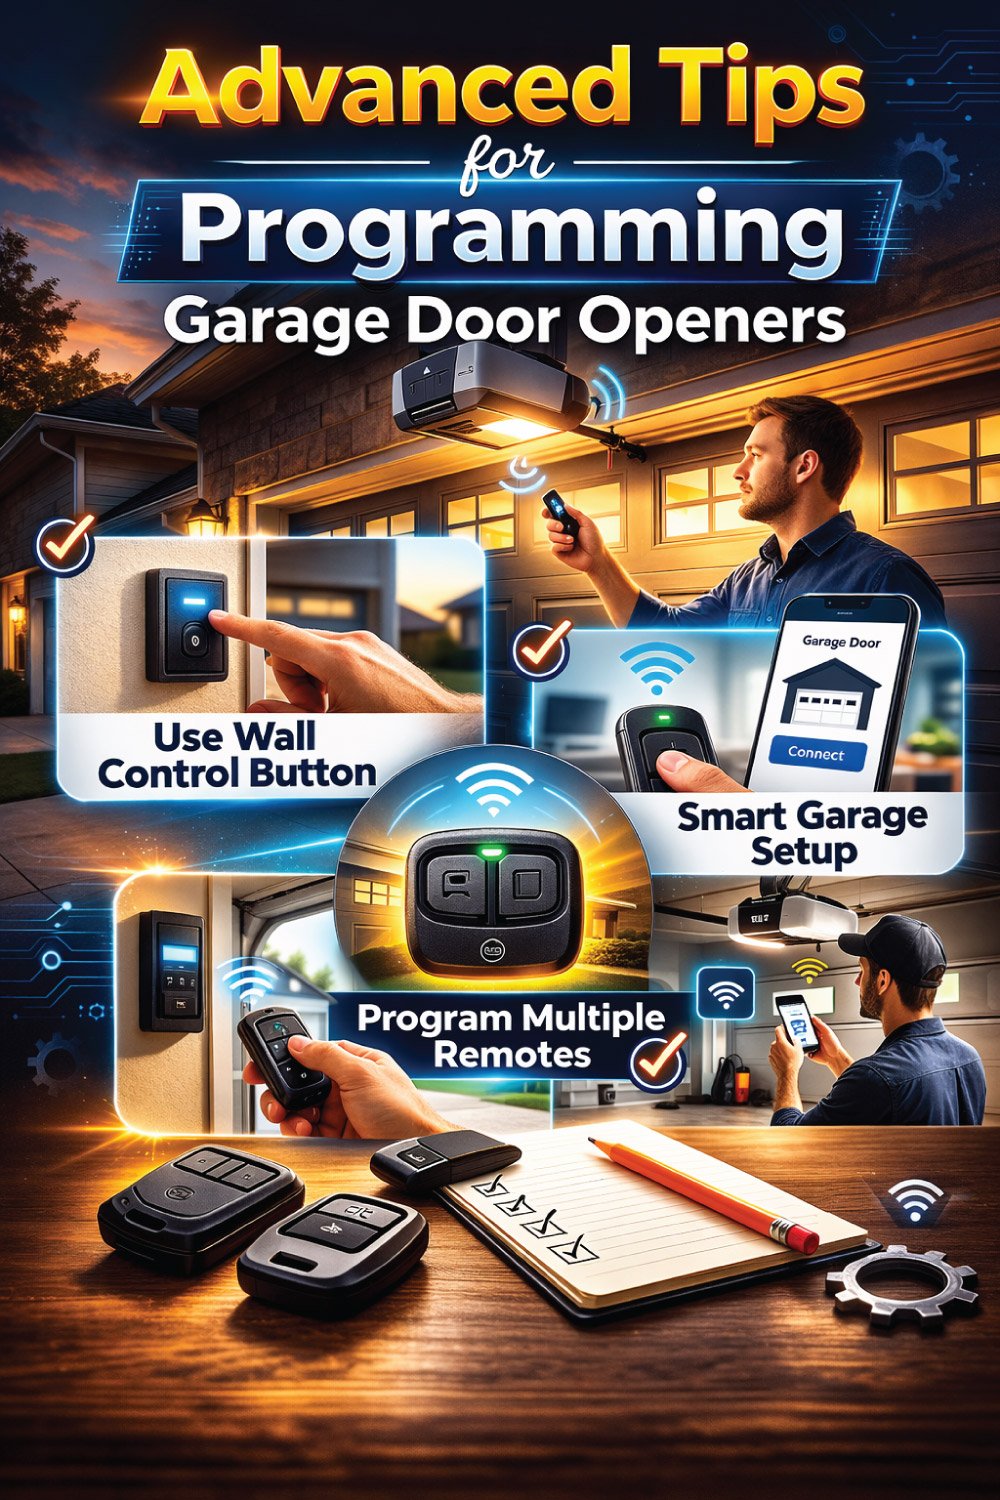
Use the wall control button: Some openers require initial programming via the wall button before remotes work.
Smart garage door openers: For Wi-Fi-enabled devices, download the manufacturer app and follow the in-app instructions.
Keep spare remotes handy: Programming a new remote takes only a few minutes if you follow the steps above.
Safety Precautions
Garage door openers are powerful, and programming them requires careful attention to safety.
Always use a stable ladder, keep hands clear of moving parts, and ensure children and pets are out of the area.
After programming, test the auto-reverse feature to confirm sensors function properly. Following these precautions prevents injury and protects your equipment.

Always use a step ladder to reach high units safely.
Keep hands and fingers away from the door tracks and moving parts.
Make sure children and pets are away during programming.
Test the auto-reverse feature after programming to ensure safety sensors work.
Safety first! Even a small mistake can lead to damage or injury.
Maintaining Your Garage Door Opener
Regular maintenance is essential to keep your garage door opener operating smoothly and safely.
Checking batteries, inspecting tracks and rollers, testing the auto-reverse function, and tightening hardware on a consistent schedule prevents malfunctions,
Avoids programming issues, and extends the life of your system. Routine care ensures reliable performance and reduces costly repairs
| Maintenance Task | Frequency | Notes |
|---|---|---|
| Check and replace batteries in remotes | Every 6–12 months | Use high-quality batteries for consistent signal |
| Inspect door tracks and rollers | Every 6 months | Clean tracks and lubricate rollers |
| Test auto-reverse function | Monthly | Ensure safety sensors work properly |
| Tighten loose hardware | Every 6–12 months | Prevent rattling and mechanical issues |
Keeping a maintenance schedule prevents programming issues and extends the life of your garage door opener.
Conclusion
Programming a garage door opener doesn’t have to feel complicated or stressful. By carefully following the right steps, you can easily identify your opener type, prepare the necessary tools, and program it correctly.
Addressing common issues and maintaining regular safety checks ensures smooth performance. With proper setup and routine care, your garage door will remain reliable and efficient for years, giving you convenience, security, and complete peace of mind every day.

Engineer Ali Usman is a professional garage door expert and author at FixFasty, with over 10 years of hands-on experience in garage door systems and mechanical maintenance. He writes clear, step-by-step guides on garage door repairs, parts, and safety practices, helping homeowners fix problems correctly and maintain smooth, secure, and long-lasting garage door performance.