
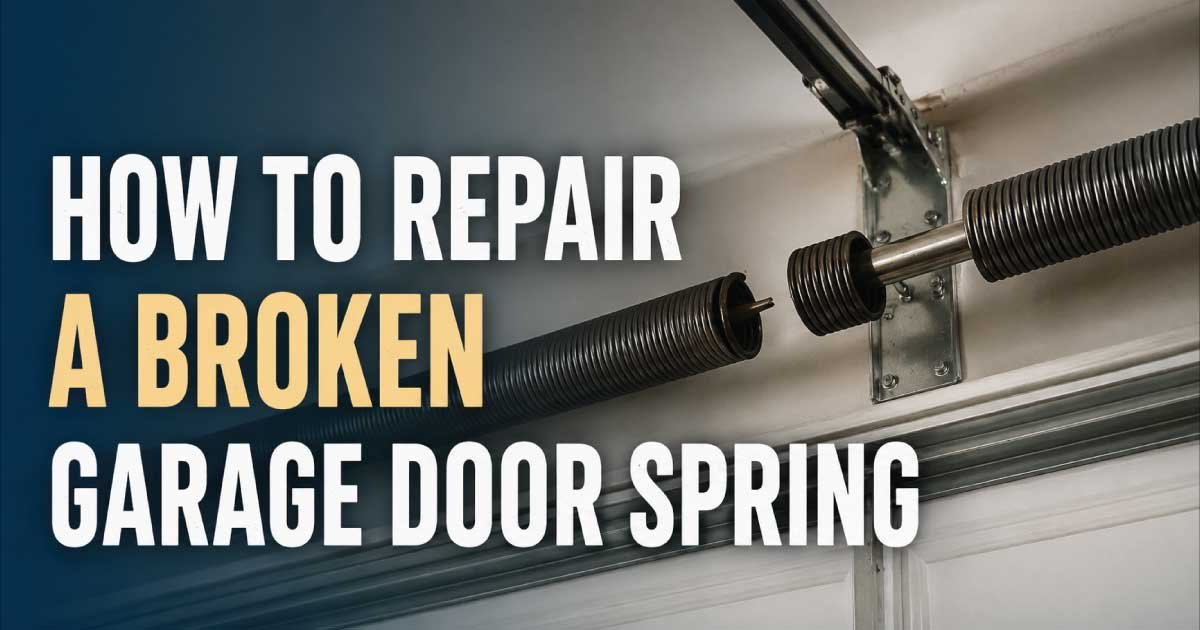
A broken garage door spring is one of the most common reasons a garage door suddenly stops working. Many homeowners first notice the problem when the door refuses to open, feels unusually heavy, or makes a loud bang that sounds like something has snapped. Since garage door springs support the weight of the door, even a small failure can make normal operation difficult or dangerous.
Repairing a broken garage door spring is not always a simple DIY task. While some inspections and troubleshooting steps are safe for homeowners, spring repair itself often involves stored tension that can cause serious injury if handled incorrectly. Understanding how the system works, recognizing warning signs, and knowing when to stop are just as important as learning the repair process.
This comprehensive repair guide explains the most common causes of broken garage door springs, how to diagnose the problem safely, the tools used during inspection, and a logical troubleshooting process. Whether you’re trying to determine if the spring has failed or deciding whether professional repair is necessary, this guide will help you make informed and safe decisions.
Common Signs and Symptoms
A failing garage door spring rarely stops working without warning. In many cases, homeowners notice gradual changes before complete failure occurs. Paying attention to these symptoms can help prevent additional damage to the garage door opener, cables, or tracks while making repairs easier and safer.
Common warning signs include:
- The garage door will not open or only opens a few inches.
- The door feels extremely heavy when lifted manually.
- A loud snapping or banging noise came from the garage.
- The opener strains, hums, or stops while trying to lift the door.
- The door opens unevenly or appears crooked.
- One side of the door rises faster than the other.
- Visible gap in a torsion spring.
- Loose or hanging lift cables.
- The garage door closes much faster than normal.
- Jerky or shaky movement while opening or closing.
- The opener reverses unexpectedly.
- The emergency release allows the door to drop quickly instead of staying balanced.
Practical example:
If you disconnect the opener using the emergency release and attempt to lift the door manually, a properly balanced door should stay about halfway open. If it immediately falls closed or feels nearly impossible to lift, the spring has likely lost its lifting force or broken completely.
How the Garage Door Spring System Normally Works
Understanding how a garage door spring works makes troubleshooting much easier. Springs do not simply help lift the door—they carry most of its weight. Without them, a typical residential garage door weighing 150 to 300 pounds would be too heavy for both the homeowner and the automatic opener.
There are two main spring systems used on residential garage doors:
Torsion Springs
Mounted above the garage door opening, torsion springs store energy by twisting around a steel shaft. As the door closes, the springs wind tighter. When the door opens, the stored energy helps lift the door smoothly while reducing strain on the opener.
Advantages include:
- Smoother operation
- Better balance
- Longer service life
- Quieter performance
Extension Springs
Extension springs run along both sides of the horizontal tracks. Instead of twisting, they stretch as the door closes and contract as it opens.
These systems are usually found on older or lower-cost garage doors.
A healthy spring system should:
- Lift the door smoothly.
- Keep the door balanced.
- Reduce motor workload.
- Prevent sudden drops.
- Extend opener life.
When a spring breaks or weakens, the entire lifting system becomes unbalanced, often causing secondary problems with cables, rollers, and the garage door opener.
Most Common Reasons This Problem Happens
Garage door springs are wear items. Even high-quality springs eventually fail after thousands of operating cycles. Knowing the cause helps determine whether only the spring requires replacement or if other components also need attention.
Normal Wear and Tear
The most common reason for spring failure is simply age and repeated use. Most standard springs are rated between 10,000 and 20,000 opening and closing cycles.
Why it happens
Every time the garage door moves, the spring stretches or twists under heavy tension. Over time, the metal fatigues until it eventually cracks.
Symptoms
- Door becomes heavier over several weeks.
- Noisy operation.
- Complete spring break.
How to identify it
Inspect the spring carefully. A torsion spring usually shows a visible gap where the metal snapped.
Rust and Corrosion
Rust weakens steel while increasing friction between spring coils.
Why it happens
Moisture, humidity, road salt, or poor garage ventilation encourages corrosion.
Symptoms
- Squeaking noises.
- Rough door movement.
- Premature spring failure.
How to identify it
Look for:
- Orange rust
- Flaking metal
- Pitted surfaces
- Dry coils lacking lubrication
Poor Maintenance
Many homeowners never inspect or lubricate garage door springs.
Why it happens
Without lubrication, friction increases each time the spring moves.
Symptoms
- Loud operation
- Jerky movement
- Faster wear
How to identify it
The spring appears dry, dirty, or coated with accumulated dust instead of a thin layer of lubricant.
Incorrect Spring Size
Using the wrong replacement spring creates balance problems.
Why it happens
A spring with the wrong wire size or length cannot properly support the door’s weight.
Symptoms
- Door will not stay halfway open.
- Opener struggles.
- Door moves too quickly.
How to identify it
Compare the installed spring specifications with the garage door manufacturer’s recommendations.
Temperature Changes
Extreme seasonal weather affects spring performance.
Why it happens
Cold temperatures make steel less flexible and more likely to crack if it already has metal fatigue.
Symptoms
- Failure during winter.
- Sudden snapping noise.
- Door refuses to lift after cold nights.
How to identify it
If the spring breaks immediately following freezing temperatures, weather may have accelerated an existing weakness rather than caused the damage by itself.
Improper Previous Repairs
Not every replacement is completed correctly.
Why it happens
Improper winding, incorrect tension adjustment, or reused damaged hardware shortens spring life.
Symptoms
- Uneven door movement.
- Frequent adjustments needed.
- Premature breakage.
How to identify it
Look for mismatched springs, loose winding cones, bent shafts, or evidence of poor installation.
Also Read:
Safety Precautions Before Troubleshooting
Garage door springs store enormous amounts of energy. A torsion spring under full tension can cause severe injuries if released unexpectedly. Before beginning any inspection or diagnosis, make safety your highest priority.
Follow these precautions before touching any garage door components:
- Disconnect power to the automatic garage door opener.
- Pull the emergency release only when the door is fully closed whenever possible.
- Never loosen torsion spring set screws without proper winding bars and training.
- Do not use screwdrivers, rebar, or makeshift tools in place of winding bars.
- Keep children and pets away from the work area.
- Wear safety glasses and durable work gloves.
- Avoid standing directly beneath the garage door during inspection.
- Never remove lift cables from a tensioned spring system.
- If a spring is visibly broken, avoid operating the opener repeatedly, as this can damage the motor.
- If the door is stuck partially open, secure it before working nearby to prevent it from falling unexpectedly.
A safe inspection focuses on identifying the problem without releasing spring tension. Replacing or rewinding springs is considerably more hazardous than checking for visible damage.
Tools Required
Before troubleshooting, gather the basic tools needed for a safe inspection. Most of these are intended for diagnosis rather than spring replacement.
| Tool | Purpose |
|---|---|
| Flashlight | Inspect springs, cables, and brackets |
| Safety glasses | Protect eyes from debris |
| Work gloves | Improve grip and protect hands |
| Stepladder | Reach upper spring assembly safely |
| Tape measure | Measure spring dimensions if replacement is needed |
| Marker | Mark components during inspection |
| Garage door lubricant | Lubricate moving metal parts after inspection |
| Adjustable wrench | Check accessible fasteners (not spring tension) |
| Camera or smartphone | Photograph damaged components for comparison or professional consultation |
Step-by-Step Troubleshooting Guide
A systematic inspection helps identify whether the spring is truly the source of the problem or if another component has failed. Work through each step in order without attempting to remove or adjust a tensioned spring.
1. Check for a Visible Broken Spring
What to inspect
Look above the garage door for torsion springs or alongside the tracks for extension springs.
Why it matters
A broken spring often has a visible gap or separated coil.
Expected result
You either find obvious damage or confirm the spring appears intact.
What to do next
If the spring is broken, avoid operating the door and plan for replacement.
2. Disconnect the Garage Door Opener
What to inspect
Pull the emergency release cord with the door fully closed.
Why it matters
This separates opener problems from spring problems.
Expected result
The door can now be tested manually.
What to do next
Attempt to lift the door slowly.
3. Test Door Balance
What to inspect
Lift the door halfway.
Why it matters
Properly functioning springs keep the door balanced.
Expected result
The door should remain in position with little effort.
What to do next
If it falls rapidly or feels extremely heavy, suspect spring failure or incorrect spring tension.
4. Inspect Lift Cables
What to inspect
Check both cables for fraying, slack, or damage.
Why it matters
Broken springs often cause cable problems.
Expected result
Both cables remain tight and evenly wound.
What to do next
Do not attempt cable repairs while spring tension remains.
5. Examine Rollers and Tracks
What to inspect
Look for bent tracks, damaged rollers, or obstructions.
Why it matters
Sometimes the door sticks because of mechanical binding rather than a failed spring.
Expected result
Tracks should be straight and clear.
What to do next
Remove debris and note damaged hardware for repair.
6. Listen During Manual Movement
What to inspect
Slowly raise and lower the door by hand.
Why it matters
Grinding, popping, or scraping sounds often reveal additional issues.
Expected result
Smooth and quiet movement.
What to do next
Investigate any unusual noise before replacing components.
Also Read:
Quick Diagnosis Table
| Symptom | Possible Cause | Recommended Solution |
|---|---|---|
| Loud bang followed by door failure | Broken torsion spring | Replace the spring safely, preferably by a professional |
| Door feels extremely heavy | Failed spring | Inspect springs and avoid using the opener |
| Door opens unevenly | Broken extension spring or cable issue | Inspect both springs and lift cables |
| Visible gap in spring | Complete spring break | Replace the damaged spring before using the door |
| Opener strains but door barely moves | Weak or broken spring | Disconnect the opener and test door balance |
| Door falls quickly when released | Spring has lost tension | Replace or correctly tension the spring |
| Squeaking and rough movement | Rust or lack of lubrication | Clean and lubricate moving components, then inspect for wear |
| Door sticks during travel | Track obstruction or roller issue | Inspect tracks, rollers, and alignment before replacing parts |

Engineer Ali Usman is a professional garage door expert and author at FixFasty, with over 10 years of hands-on experience in garage door systems and mechanical maintenance. He writes clear, step-by-step guides on garage door repairs, parts, and safety practices, helping homeowners fix problems correctly and maintain smooth, secure, and long-lasting garage door performance.